Edit Customer Profile
To maintain the most current information for a customer, Marketing Cloud users (such as account managers or hotel staff) can select an individual customer and edit their profile including name, DOB, gender, email, address, and phone number. Users can configure a customizable set of customer traits to display in these profiles. Users can also add a new phone number, email, or address as well as opt a customer in to or out of various types of communications.
Note: Phone numbers, emails, and addresses can be edited, but not removed.
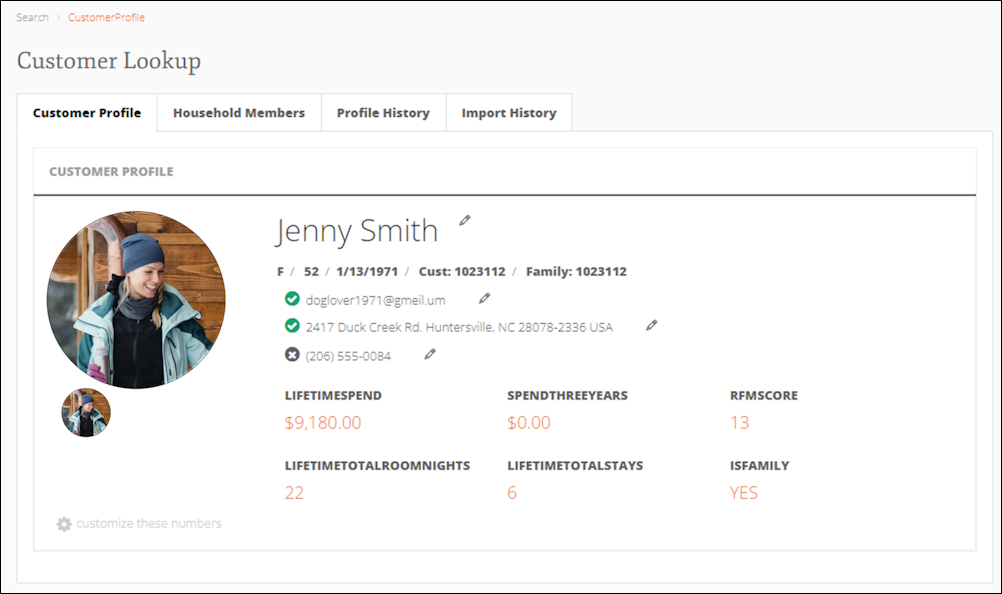
- From a list of Customer Lookup search results, click on the customer whose information you want to edit. The customer’s information appears. A pencil icon indicates each type of information that you can edit.
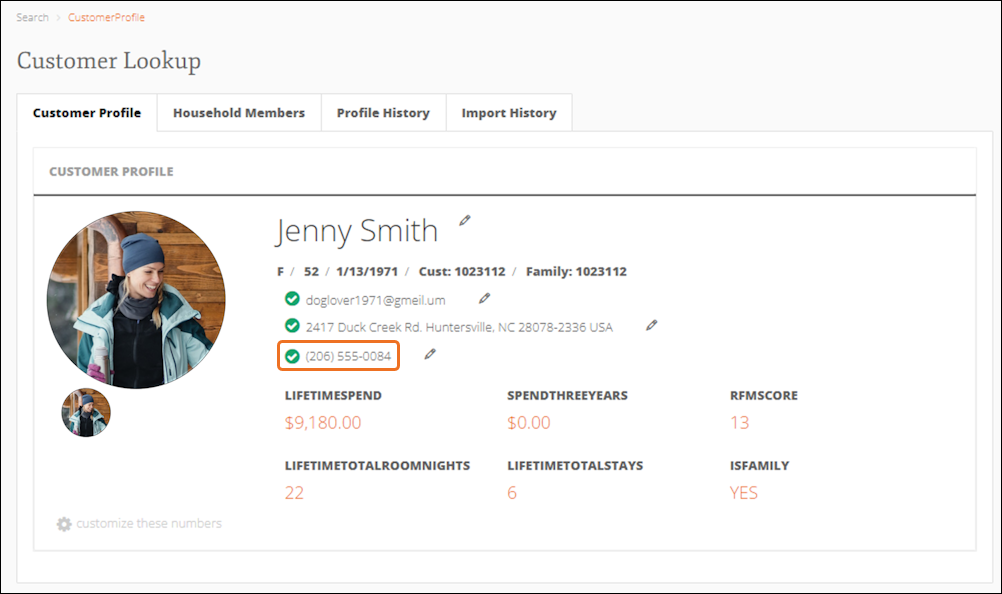
A check mark next to a phone number, email, or address indicates that the information is active and that the customer has opted in to that communication method.
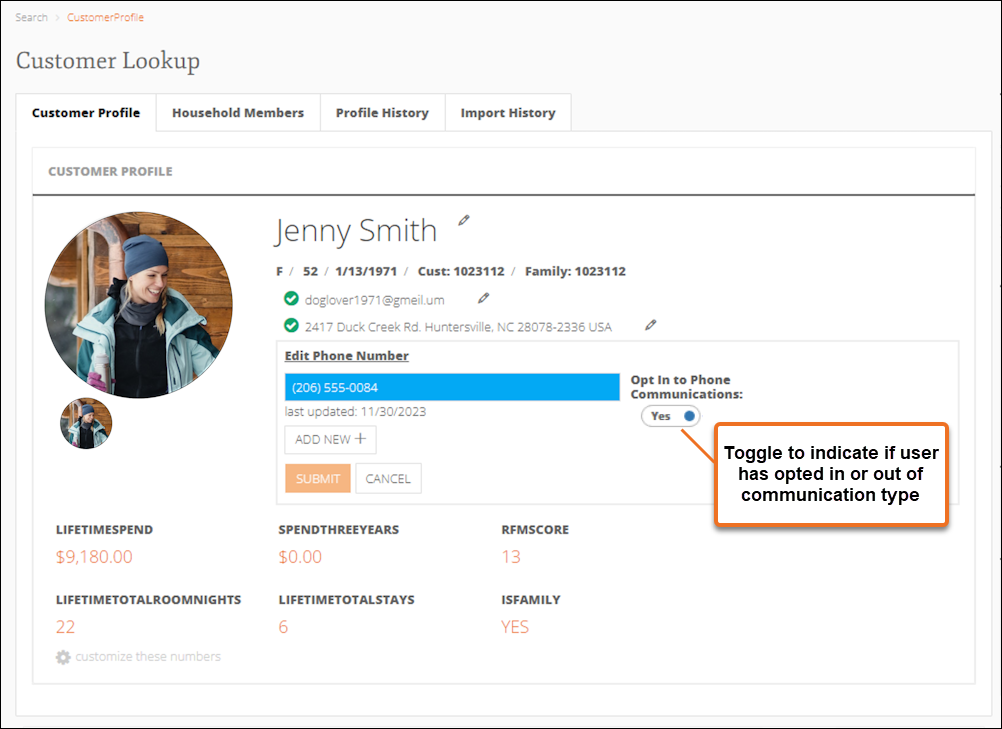
An X indicates that the customer has opted out of that communication method. - Click the pencil icon next to the type of information you want to edit. The fields for entering/editing the information appear.
- In the available field, edit the customer’s information.
- To add new customer contact information, click Add New +. Enter the new contact information into the available field.
- If the customer has opted out of receiving a means of communication, set the corresponding Opt in to <communication type> Communications button to No. Otherwise, leave this button set to Yes.
- When you finish editing the customer’s information, click Submit. The information is updated.
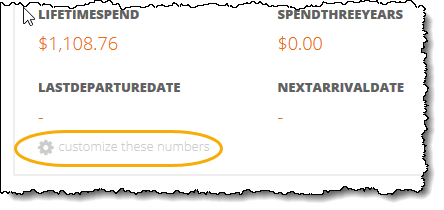
- To change the traits displayed on the customer’s profile, in the lower left corner of the window, click ⚙ customize these numbers.
The trait boxes become drop-down lists that contain both standard traits and custom traits specific to your resort.
Note: The traits you select are saved and will appear by default the next time you view any customer's profile in Marketing Cloud.
- From the drop-down lists, select the traits you want to display on the customer profile screen.
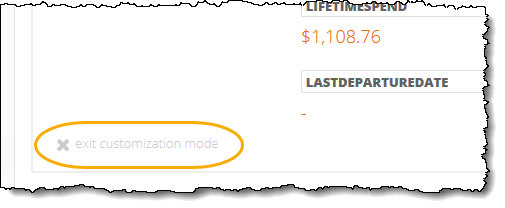
- When you finish making selections, click X exit customization mode.
