Comparison Tool
Call center agents can compare multiple itineraries on one screen to help their customers select the full vacation that is best for them. Agents tag items from search results as favorites and can then build multiple itineraries for a customer by adding various favorite items to itineraries in a side-by-side comparative view. Agents can also send those itineraries in a quote to customers who can then decide whether to book immediately or modify the itinerary further before booking.
Agents can create a comparison with or without customer information associated with the itineraries; however, to send the quote, or save or reserve an itinerary, a customer must be associated with the quote or itinerary.
Note: To use the Comparison Tool, you must begin your CRS Search session in Agentopia.
To begin using the Comparison Tool, you must create an itinerary quote containing at least one item. You can then add products to a list of “favorite” items. You then choose items from the Favorites list to create various itineraries for comparison. You can create multiple, identical, basic itineraries and then add various items to create unique itineraries for comparison.
For instructions on creating an itinerary quote, click here.
- Open Agentopia and search for and select an existing itinerary quote, or create a new one.
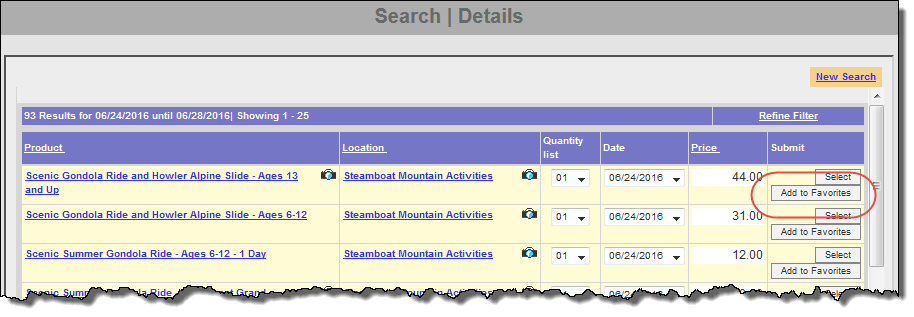
- From the top navigation menu, click Search and perform another product search. Each item in the search results now includes an Add to Favorites button below the Select button.
- Find the product you want to compare and click its corresponding Add to Favorites button. A message appears confirming the product was added to the list of favorites. Click OK.
- Continue to search for and add products to the Favorites list for comparison.Notes:
- You can add lodging-only promotions as well as multiple components to the favorites list.
- You cannot add bundles to favorites; however, you can add the parent product.
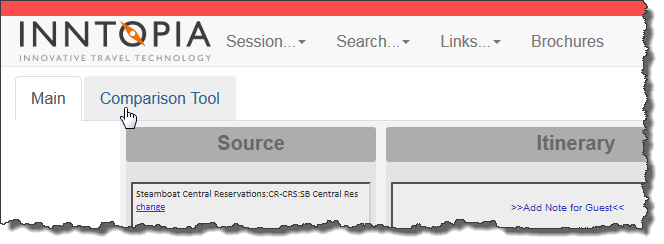
- When you have finished adding products to the list of Favorites and are ready to create comparison itineraries, click the Comparison Tool tab.
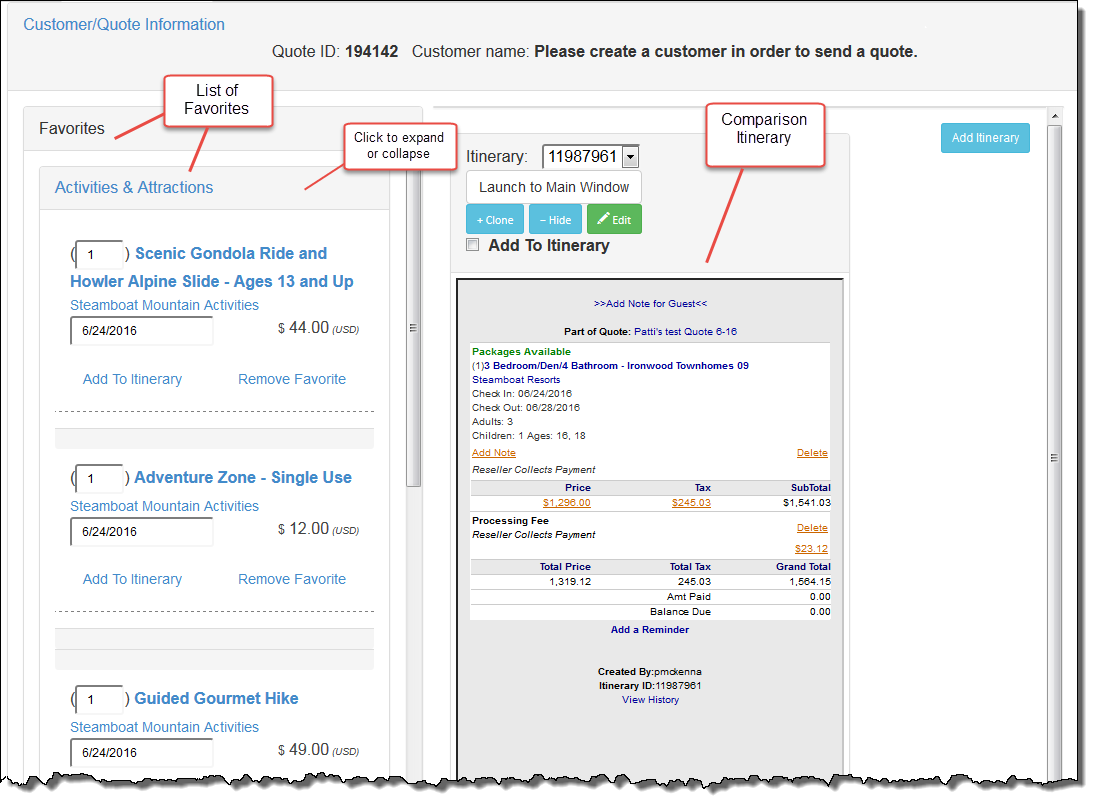
The Comparison screen appears with the first itinerary displayed. The products you added appear in the Favorites list organized by product category. Product categories can be collapsed or expanded for easier navigation of your Favorites list.
From the Comparison screen, you can either add items from the Favorites list to the existing itinerary or create a new itinerary for comparison.
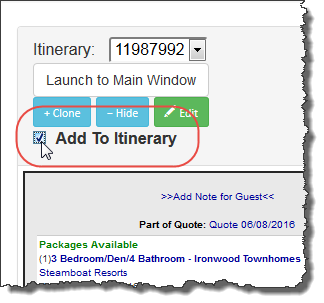
- To add an item from the Favorites list to a Comparison Itinerary, click the Comparison's corresponding Add to Itinerary check box.
- In the list of Favorites, find the item you want to add to the itinerary and enter the desired number, the date (if different from what’s displayed), and guest count and child ages (if applicable) and click its corresponding Add to Itinerary link. The item is added to the itinerary.
- Continue adding items to the itinerary until it is complete. If an item you want to add to the itinerary is not currently in the Favorites list, you can click the Main tab to return to the main window at any time to add items to the favorites list.
Note: You must click the Add to Itinerary box with each instance of adding an item from the Favorites list to the itinerary.
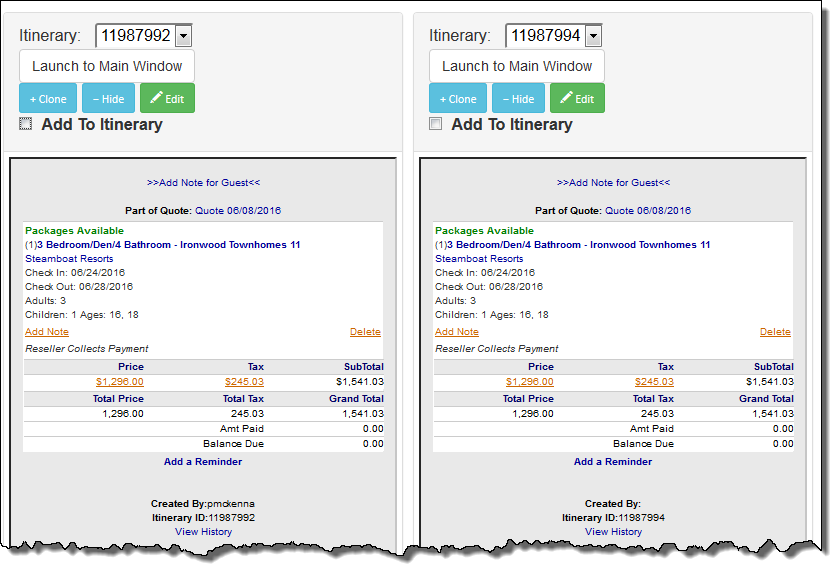
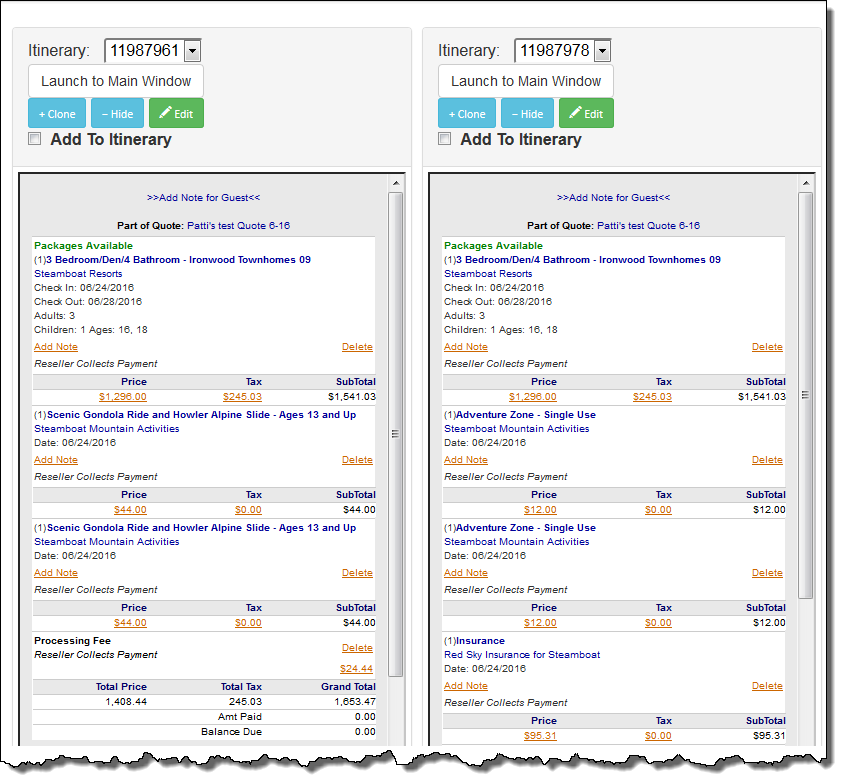
You can add multiple itineraries for comparison, and there is no limit to the number of itineraries you can compare. You can either create several completely different itineraries or you can create a basic itinerary and then make a clone, or copy, to which you can then add different additional items for comparison.
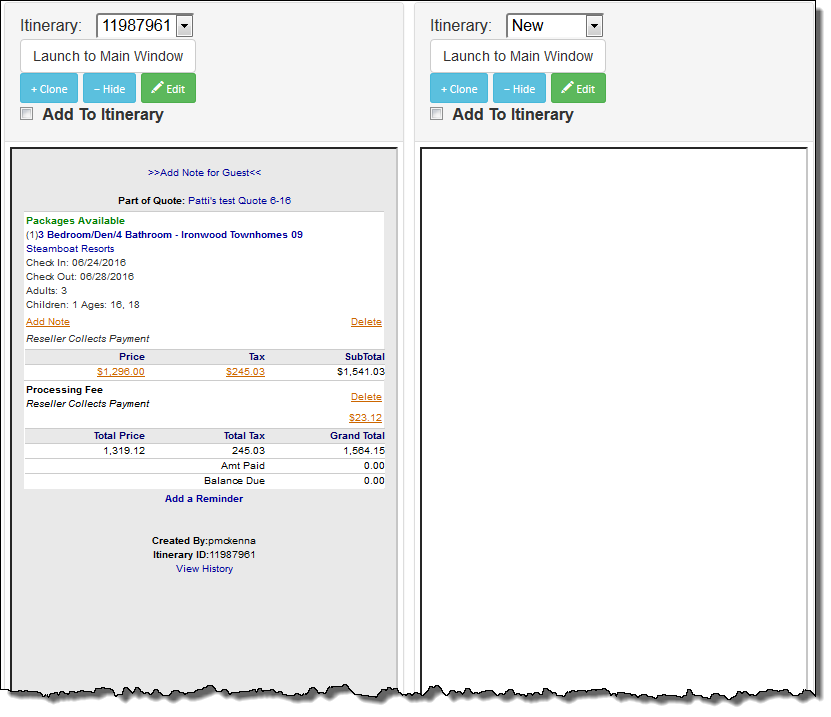
- To create a new, blank comparison itinerary, click Add Itinerary. A new, blank itinerary window appears.
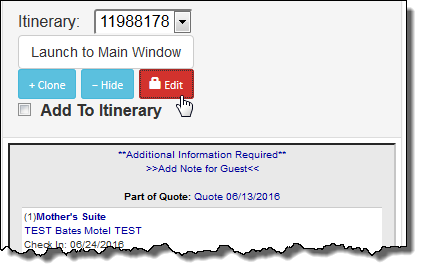
- To create an identical itinerary to the existing one, click the existing itinerary’s +Clone button. An identical itinerary appears to the right with a new itinerary number displayed.
- Add items from the Favorites list to each itinerary for comparison.
- To hide an itinerary from view, click the itinerary’s corresponding -Hide button. The itinerary disappears from view.
- To unhide an itinerary, click Add Itinerary. From the drop-down list of the blank itinerary that appears, select the itinerary ID of the itinerary you want to unhide.
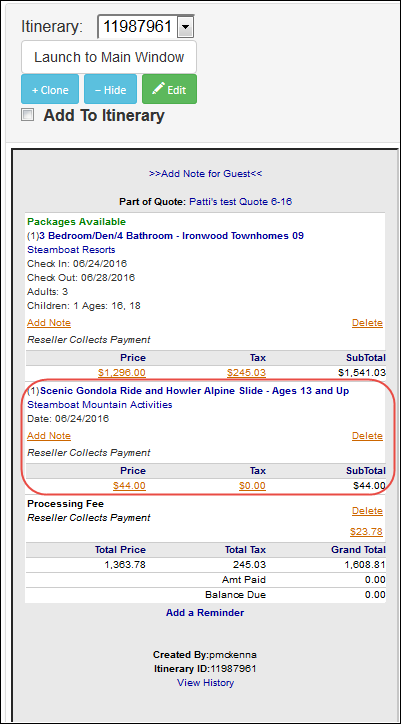
While in the Comparison Tool page, you can work with an itinerary in much the same way you would from the main Itinerary window. You can delete items, add a note or reminder, and view the itinerary history. However, you must be in the main window to save, reserve, perform a search, or add insurance or a booking fee to an itinerary. These functions cannot be performed within the Comparison Tool.
- To make changes to an itinerary, click the itinerary’s corresponding green Edit button. The Edit button turns red to remind you that you can now make changes to the itinerary.
- Make any necessary changes to the itinerary.
- When you are finished making changes, click Edit. The changes are saved and the Edit button turns back to green.
You can locate an existing comparison quote by searching for the itinerary ID or customer name associated with the quote.
- From the Itinerary window on the CRS Search screen, search for itineraries by the Itinerary ID or the Guest Last Name.
- From the list of search results, find the itinerary associated with the comparison quote you want to retrieve and click its corresponding Select link. The itinerary appears in the Itinerary window.
- Click the Comparison Tool tab. The comparison itineraries associated with the quote appear in the Comparison Tool screen.
To send a comparison quote to a guest, the quote must already be associated with the guest’s customer information.
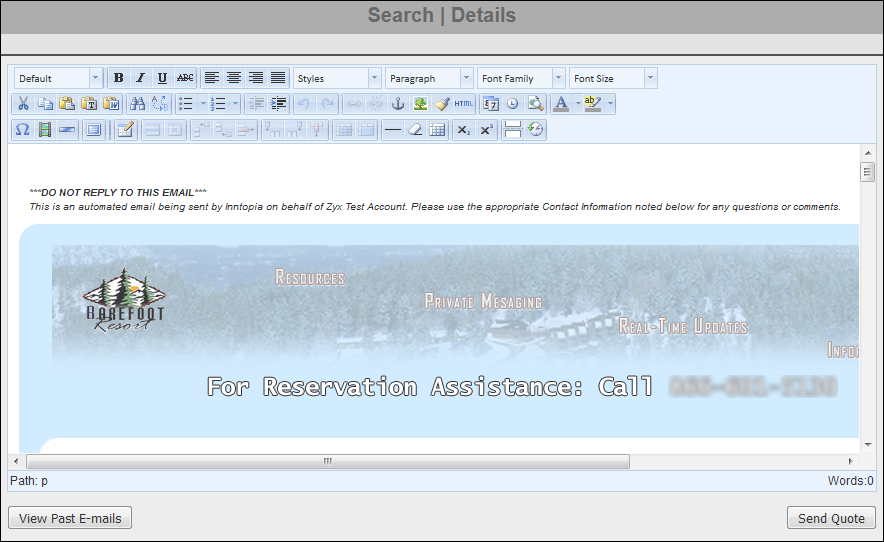
- From the Comparison Tool screen, click Send Quote.
The Quote Template screen appears in the Search | Details window of the CRS Search screen.
- Follow the procedures for sending an Itinerary Quote.
When the guest is ready to save or reserve a particular itinerary, you can launch the itinerary to the main window where you can add the guest information and then save or reserve the itinerary.
- To save or reserve an itinerary, click the itinerary’s corresponding Launch to Main Window button. The itinerary appears in the Itinerary window of the main Agentopia screen.
- If the itinerary is for a new guest, add the customer information.
- If the itinerary is for a guest with existing customer information in your Inntopia System, search for and select the correct customer information.
- Save or reserve the itinerary.
