Create an Itinerary Quote
Itinerary quotes allow agents to present a single fixed price to guests when creating and comparing itineraries. Guests can then compare pricing and choose the itinerary or itineraries that best suits their needs. There is no limit to the number of itineraries that can be associated with a single quote. Once created, you can send itinerary quotes to guests using an itinerary email quote template or save a quote for future reference.
- Agents can view all itinerary quotes created for a guest or create a new quote.
- Agents can search for and select an itinerary quote to work with and add or remove itineraries.
- To find itinerary quotes, agents can search for an itinerary associated with the quote using either the itinerary number or guest name.
- Itinerary quotes are associated with a customer profile. A guest can have multiple quotes; however, an itinerary can only be associated with one quote. Each itinerary in the quote must be associated with the same customer profile.
- An itinerary can be added to a quote even if it contains reserved items.
- Itinerary quotes cannot contain cancelled items.
- Itinerary quote names must be 40 characters or less and can be changed at any time. Quote names are not visible to the guest. The Inntopia System displays the quote name with which the agent is currently working.
- When working with a quote in either the Itinerary window or the Itinerary Quote Details window:
- When you click New Guest, all itineraries associated with the quote will have their customer record removed.
- When a new guest is searched and subsequently selected, all itineraries associated with the quote are then associated with the selected customer.
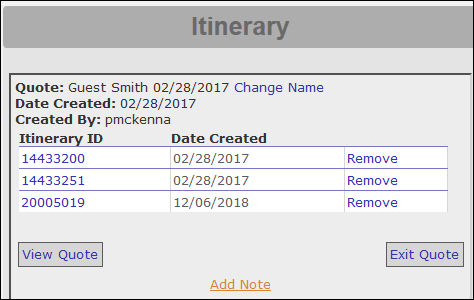
Each field of the Itinerary Quote Details is explained below.
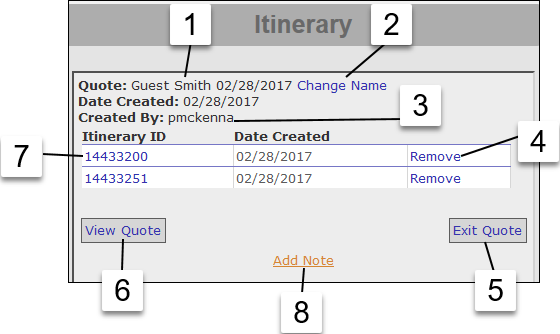
- Quote Name – This name is either the last name of the customer associated with the quote or the System default of Quote <date quote created>.
- Change Name (link) – To change the name of the quote at any time, click Change Name. A field appears in which you can type the new name.
When you finish typing the name, click Save.
- Created By – Name of the agent who created the quote.
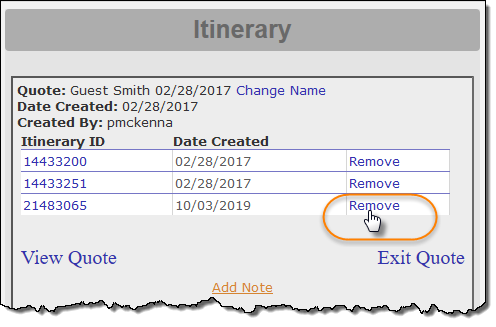
- Remove (link) – Removes the corresponding itinerary from the quote.
- Exit Quote – Allows the agent to stop working with a particular quote and return to a blank Itinerary window. The quote is still saved in the Inntopia System and can be retrieved at a later time.
- View Quote – Opens the Quote Template screen on which you can select and edit an HTML-based template which is then assigned to the quote email.
- Itinerary ID – Opens the Itinerary window with that itinerary’s details for you to view, add, and remove items. The itinerary remains associated with that quote even when modified.
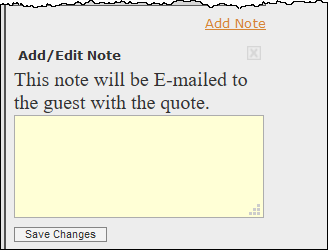
- Add Note – To add a note that will be emailed to the guest along with the quote, click Add Note. The Add/Edit Note field appears.
When you finish typing the note, click Save Changes.
Itinerary quote emails sent to guests contain agent information in the signature area of the email text. If this information is not complete, HTML tags appear in the place of the signature information. Inntopia recommends that you verify your user information prior to sending the quote email.
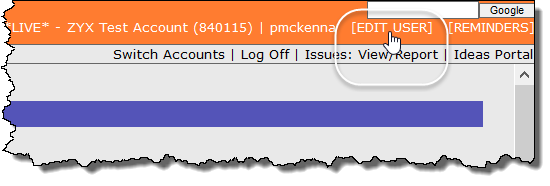
- In the upper right corner of your CRS home page, click [EDIT USER].
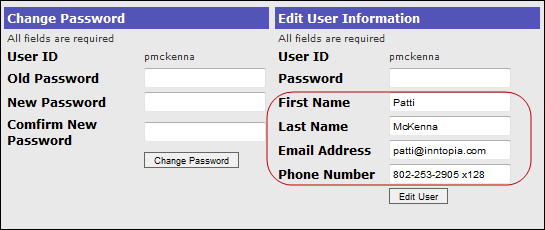
- Verify that the following fields on the Edit User window contain your accurate information:
- First Name
- Last Name
- Phone Number (and extension if applicable)
- If the information is complete and accurate, close the window.
If the information needs updating, enter the correct information and click Edit User. The information is updated and will appear in the signature area of the quote email.
The Edit User window appears.
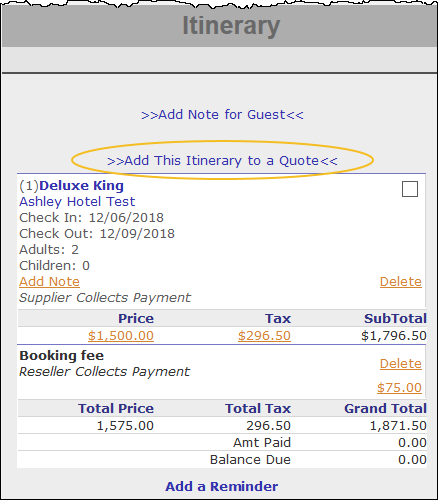
- Search for and select products to add to an itinerary. The Itinerary window appears with the Add This Itinerary to a Quote link.
- Find and select the customer to whom you want to send the quote or, if no profile exists, create a new customer profile.
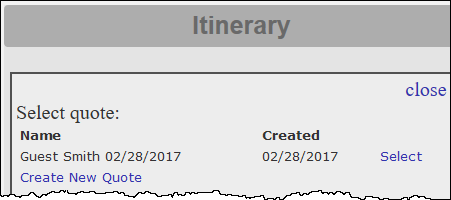
- In the Itinerary window, click Add This Itinerary to a Quote. A message appears in which you can select an existing quote to which you can add the itinerary or, if there are no existing quotes, create a new quote.
-
- To associate the itinerary with an existing quote, click that quote's corresponding Select link.
- To create a new quote, click Create New Quote. The quote details appear in the Itinerary window with the last name of the guest as the quote name at the top. The itinerary you just created is now associated with that quote and is listed as part of the quote details.
- To change the name of the quote at any time, on the Itinerary Quote Details, click Change Name, enter the name of the quote in the field provided, and click Save.
- To view the quote email, click View Quote. For information on sending the quote email, see Send an Itinerary Quote.
- To stop working with a particular quote and return to a blank Itinerary window, click Exit Quote. The Itinerary window appears with blank fields.
To stop working with a particular quote and return to the Itinerary window for an itinerary included in the quote, click its Itinerary ID.
Once an itinerary quote has been created, you can add or remove items, add an additional itinerary, or remove an itinerary.
- To find the quote you want to modify, on the Itinerary window, search for an itinerary by Date Type, Itinerary ID, or Guest Last Name. If an itinerary is associated with a quote, that quote is displayed in the Quote column of the search results.
- In the Quote column, find the quote you want to modify and click the quote name. The Itinerary window appears listing all the itineraries associated with the quote.
- From the list of itineraries associated with the quote in the Itinerary window, click the itinerary ID of the itinerary you want to modify. The itinerary information appears in the Itinerary window.
- To add an item, search for and select products to add to the itinerary.
- To remove an item, click the item’s corresponding Delete link.
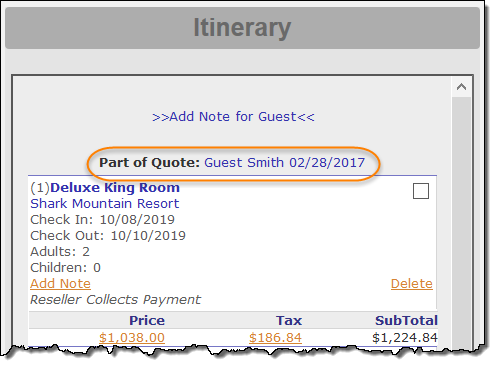
- From the top navigation menu, click Search and select products to add to an itinerary. The products you select appear in the Itinerary window with Part of Quote: <quote name> shown at the top of the window.
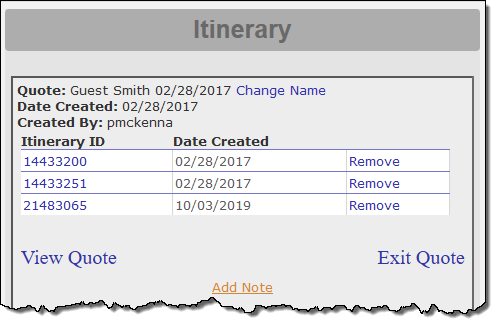
- To see that the new itinerary has been added to the quote, click the quote name. The Itinerary window appears listing each itinerary associated with that quote name.
Yes, as long as the customer does not make ANY changes to the quote, the agent will get credit for the reservation. If the customer makes a change (increase/decrease quantity, change room type, etc.), the reservation is recorded as a web transaction and the agent does not get credit for the reservation.

